
The Magnifier
The measuring magnifier is used to manually measure points in the images. These are used, for example, for distance measurements for a local coordinate system or control points or simply for evaluation.
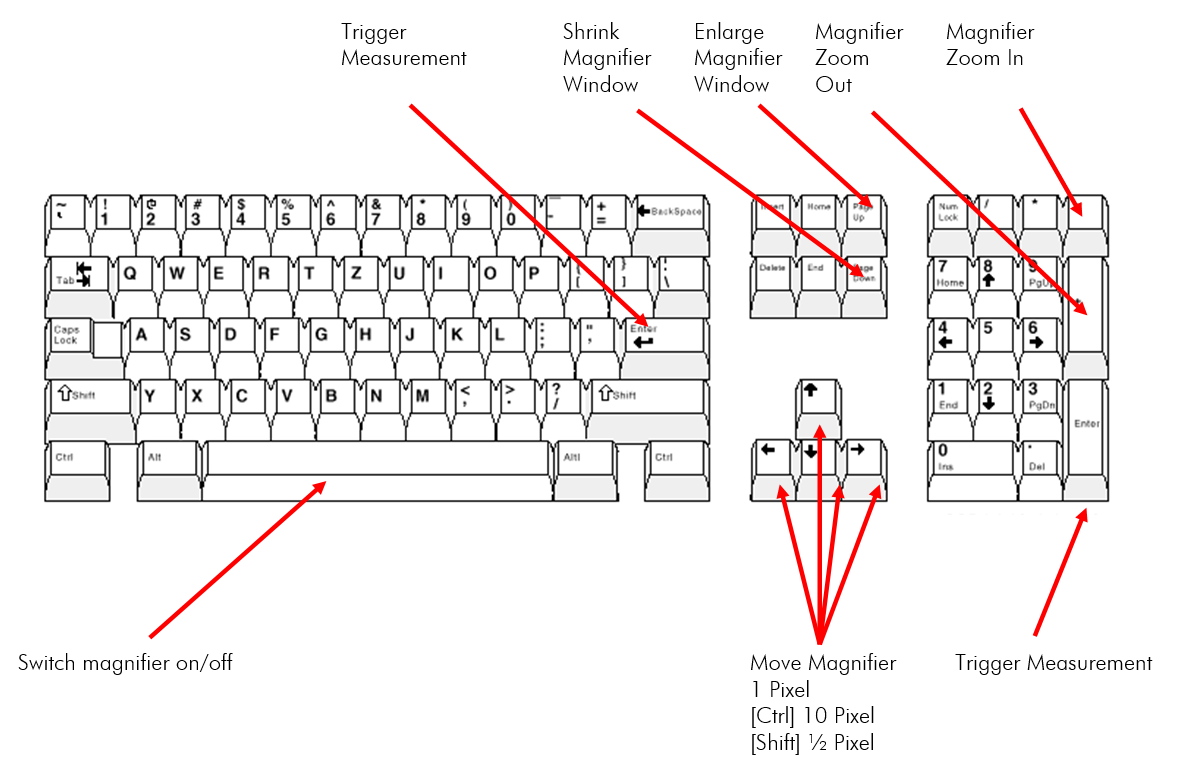
The measuring magnifier is controlled via the mouse and keyboard:
Switching the measuring magnifier on and off
The measuring magnifier can be switched on/off with the [space bar] of the keyboard or the middle mouse button.
Only if a measuring magnifier is active = visible, a point can be measured manually in ELCOVISION 10!
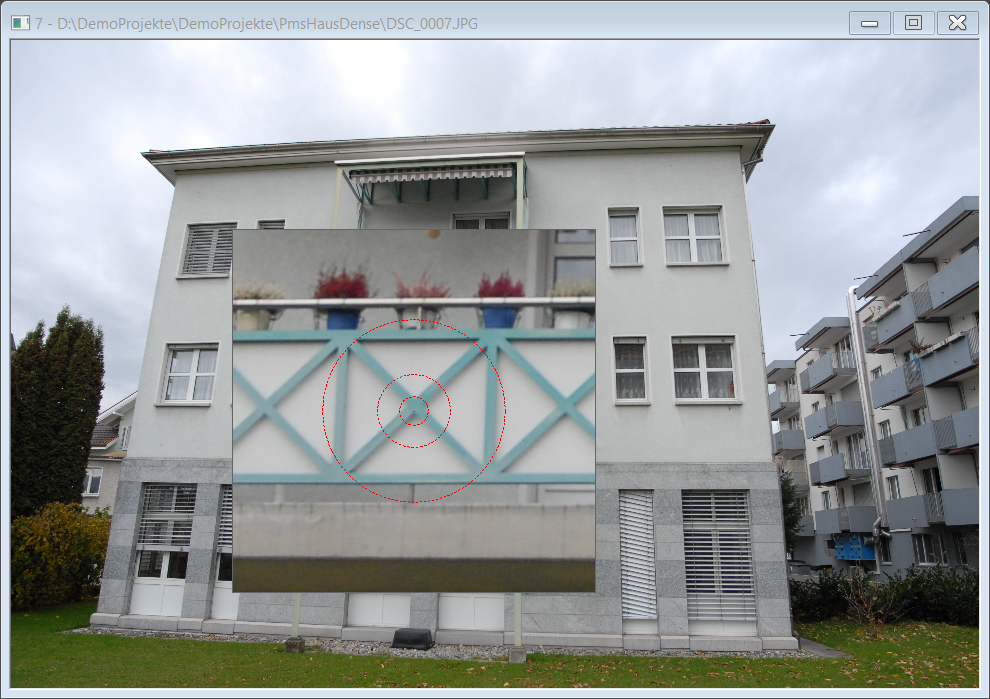
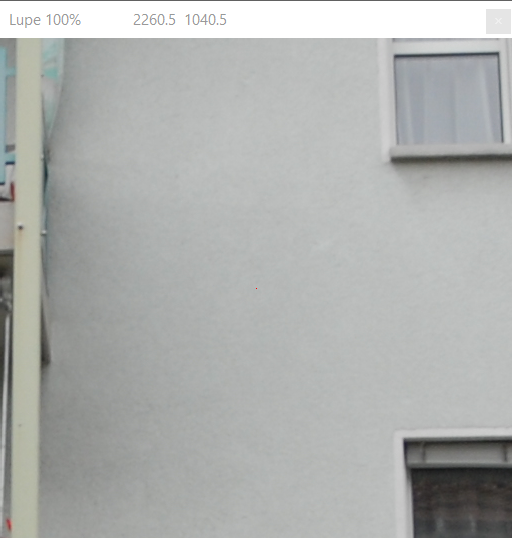
In digital images, the mouse pointer is used to measure. If the mouse is moved over a digital image, the mouse pointer changes into a measuring cursor and a corresponding enlargement of the image section around the measuring cursor area is automatically visible in the digital magnifier.
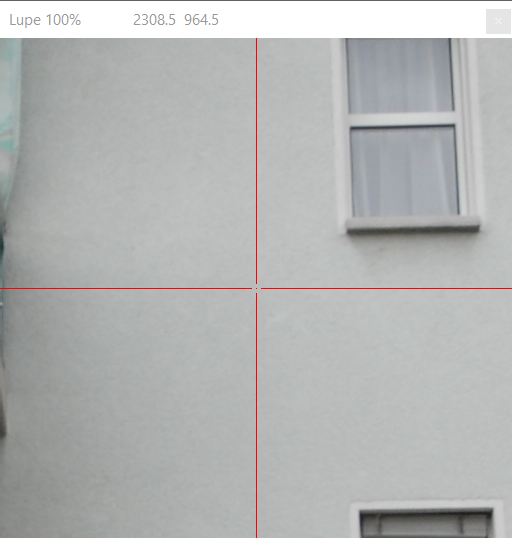
Static and floating magnifier
In ELCOVISION 10 there are two measuring magnifiers: The static measuring magnifier and the flowing measuring magnifier. The fixed magnifier is placed at a fixed position on the screen.
The floating magnifier is placed at the position of the mouse pointer in the image when it is switched on.

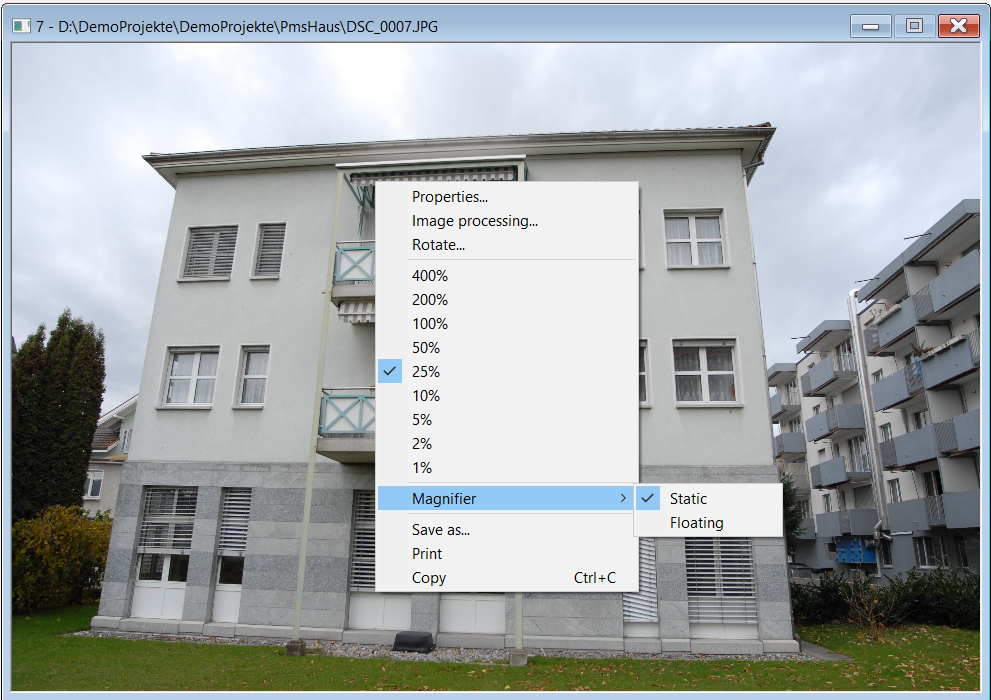
Switching between the Static and Floating Magnifiers
You can switch between the two magnifiers using the context menu of an image:
Controlling the measuring magnifier
| Action | Comment |
| With the mouse itself | The measuring cursor is moved accordingly: In the fixed magnifier according to the image magnification, in the floating magnifier in 1 pixel steps. |
Ctrl + mouse movement | Only in the floating magnifier: The measuring cursor is moved forward in 10 pixel steps or in ½ pixel steps according to the magnification in the magnifier. |
Arrow keys | The measurement cursor is moved in one pixel steps in the respective direction. |
Ctrl + Arrow keys | The measurement cursor is moved in 10 pixel steps in the respective direction. |
Shift + Arrow keys | The measurement cursor is moved in ½-pixel steps in the respective direction. |
Image ↑ | The magnifier window is enlarged. |
Image ↓ | The magnifier window is reduced in size. |
+ Numeric block | Zoom in |
- Numeric block | Zoom out |
Mouse wheel | Zoom in/out |
Shift + Mouse wheel | The magnifier window is enlarged or reduced. The mouse pointer must be in an image. |
Spacebar | The magnifier is switched on/off. |
Enter | A measurement is triggered |
C | Switch through crosshairs |
S | Optimise contrast and brightness in the measuring magnifier |
E | Switch epipolar line on/off in the measuring magnifier |
Measuring with the static magnifier
The static magnifier is best for measuring scattered, individual points in the images.
- Use the mouse to move the crosshairs to approximately where you want to measure the point.
- Let go of the mouse.
- Make the fine adjustment with the arrow keys on the keyboard.
- Finish the measurement with the [Enter] key. Do not use the left mouse button as it is easy to lose the set position.
Measuring with the floating magnifier
The floating magnifier is particularly suitable for tracing contours in pictures and setting measuring points.
- Move the mouse approximately to the position where you want to measure the point.
- Switch on the floating magnifier with the middle mouse button or the space bar.
- The magnifier moves in 1 pixel steps in the image, with Ctrl you can move faster and with Shift you can move slower.
- When the point is set precisely enough, confirm the measurement with the left mouse button or Enter.
- If necessary, switch the magnifier off again with the middle mouse button or the space bar.
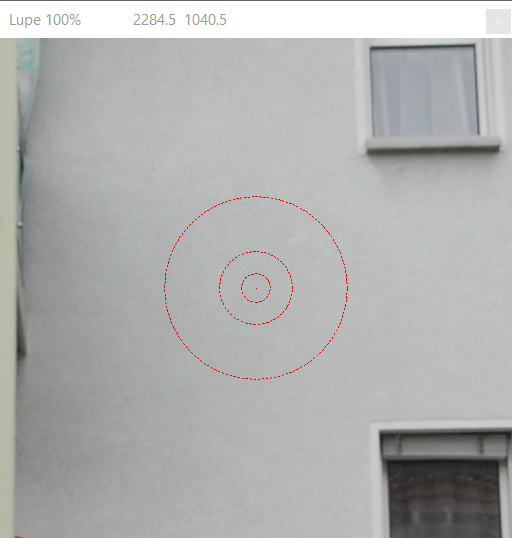
Changing the crosshairs of the magnifier
The measuring magnifier has different crosshairs that can be switched through with the [C] key on the keyboard:


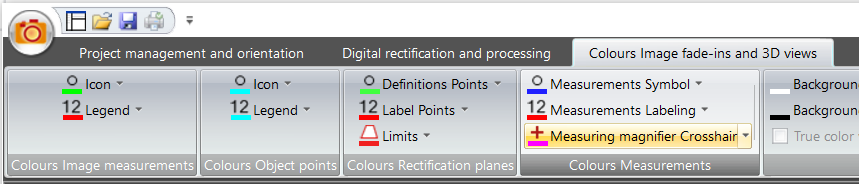
Changing the Crosshair Colour
Toggle the colour of the crosshairs in the Settings or in the Ribbon > Colours Images fade-ins and 3D Views > Colours Measurements > Measuring Magnifier Crosshairs.
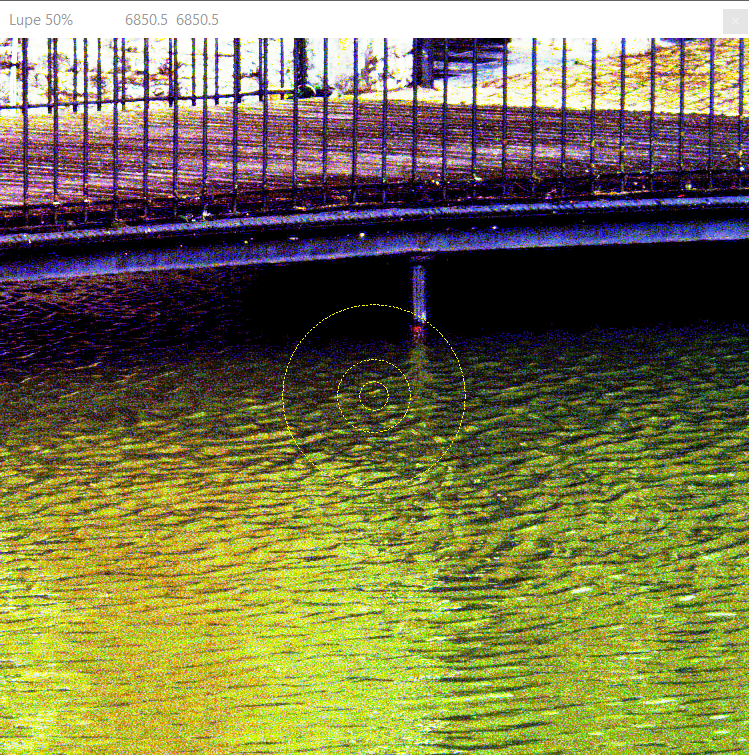
Optimise contrast and brightness in the magnifier
The measuring magnifier of ELCOVISION 10 can optimise the contrast and brightness of the image section. This function can be switched on/off with the freely programmable key S:

Switching on/off epipolar lines in the measuring magnifier
Sometimes the displayed epipolar lines interfere with the measurement. These can be switched on and off with the key E.