Rotates around the current rotation point of the point cloud, the mouse cursor changes to a rotation symbol
⇧⇩
Rotates around the X axis
⇦⇨
Rotates around the Y axis
Page ⇧Page ⇩
Rotates around the Z axis
Move view
Middle mouse button
Moves the point cloud, the mouse cursor changes to the move cursor.
Zoom
Mouse Wheel
Zoom in/out
+-
Zoom in/out
Enlarge or shrink object points, point cloud points, camera position
Object points and camera viewpoints can be enlarged or reduced as desired, point cloud points cannot be enlarged beyond a maximum size.
Shift ⇧ + Mouse wheel
Enlarge / shrink points
Shift ⇧ + +
Shift ⇧ + -
Enlarge points
Shrink points
Select Points
Shift ⇧ + Left Mouse Button
Start selection, the mouse cursor changes to the selection cursor
Draw rectangle
Move mouse
Release Shift ⇧ + Left Mouse Button
The points enclosed by the rectangle are selected and displayed in magenta
Esc
The selection is cleared
*
The selection is inverted
Any number of selections can be made in succession.
Deleting and Restoring Deleted Points
Del
The selected points are deleted
Ctrl + Del
All unselected points are deleted, i.e. "trim" the point cloud.
Ctrl + Z
Undo Delete
Further Editing Possibilities
R
Create a balanced plane through the selected points.
O
An object point is created from the centre of gravity of the selected points
N
A new point cloud is created from the selected points.
Spacebar
The rotation point is moved to the centre of gravity of the selected points.
Switch the point of rotation of the point cloud display
By default, the point cloud display rotates around the centre of gravity of all points. Often you may want to look at other details more closely. Therefore, you can place the rotation pivot point anywhere in the point cloud.
Select points
The centre of gravity of the selected points will become the new rotation point
Spacebar
The rotation point is moved to the centre of gravity of the selected points.
Esc
Make sure that no points are selected.
Spacebar
The centre of gravity of the point clouds becomes the new rotation point again
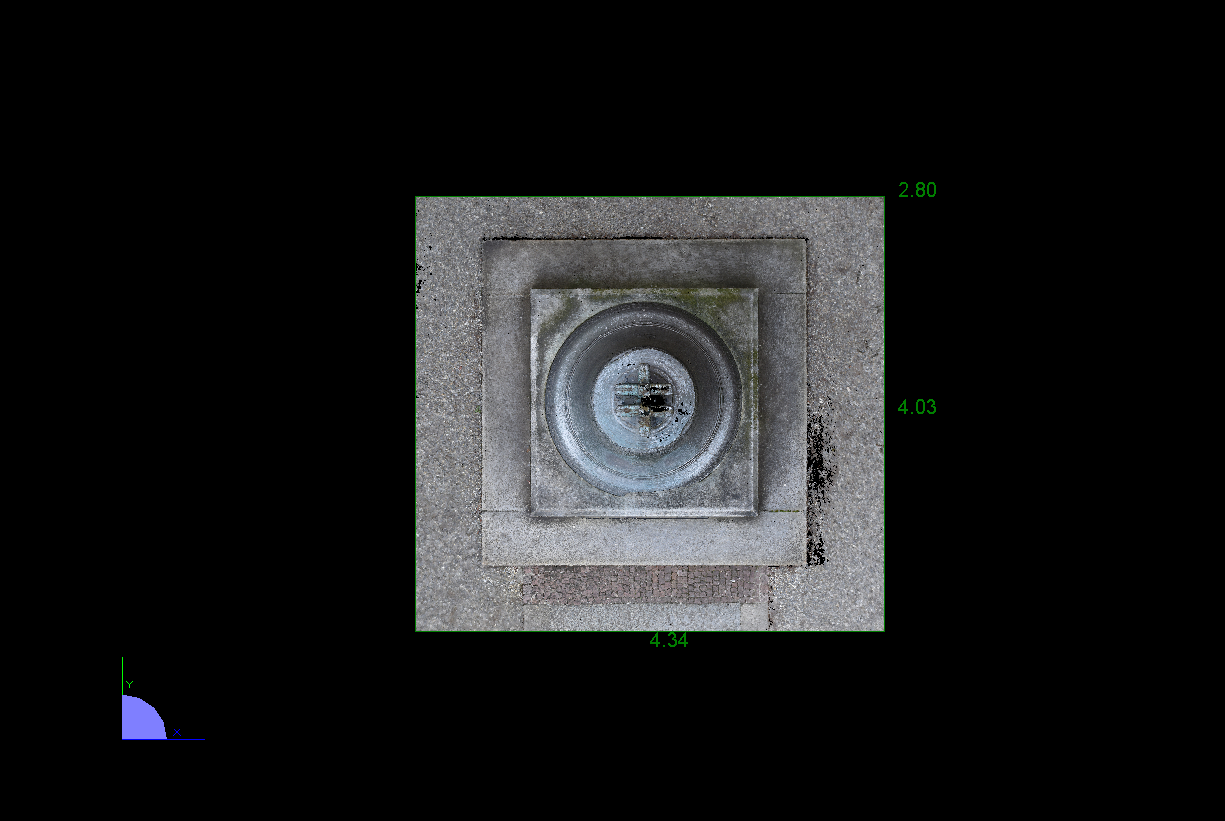
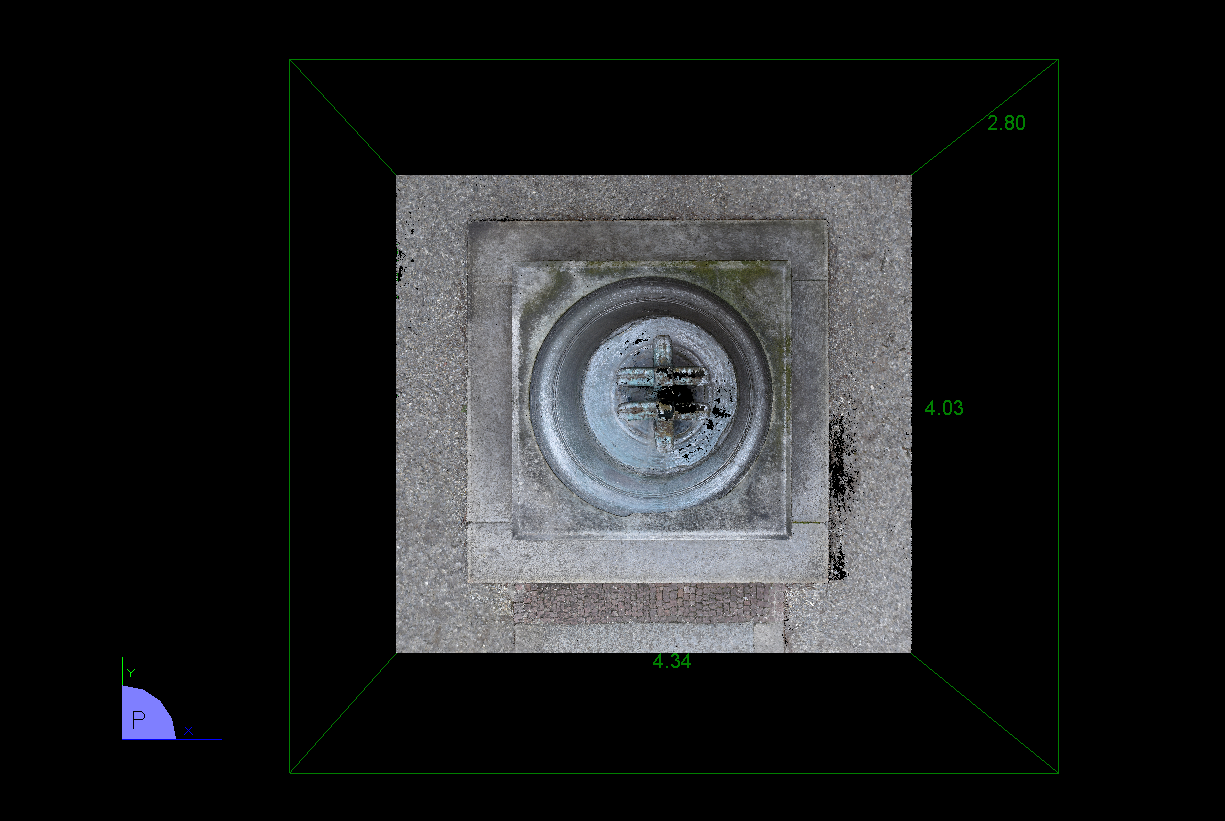
The point clouds can be displayed in perspective (standard) or parallel projection. A "P" is displayed in the coordinate cross if the representation is perspective.
Por context menu
Toggle perspective/parallel projection
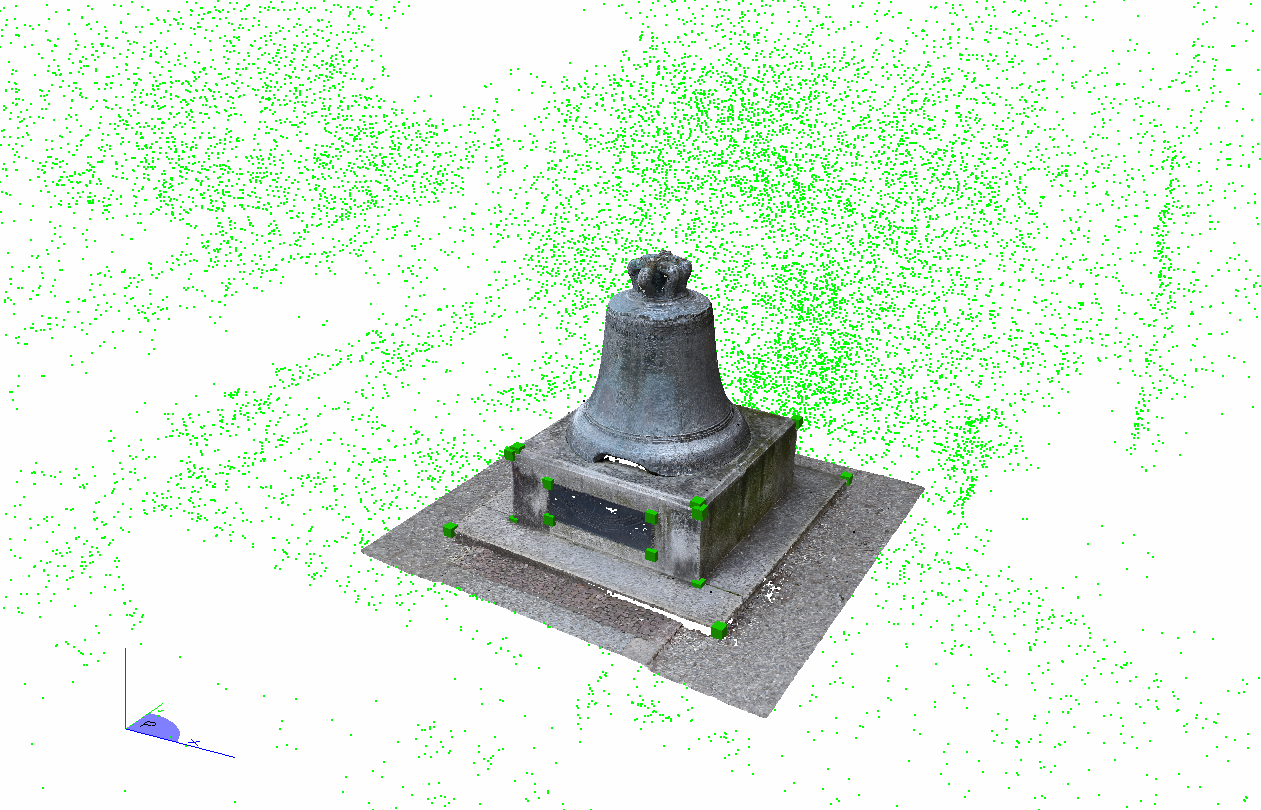
Display in True Colours
True colour displayStandard colours
Point clouds are always displayed in true colour.
Object points are displayed in normal mode either as - green points: Automatically measured points - green cubes: manually measured points - green 3D crosses: control point
The background colour for normal mode and true colour mode can be changed in the programme settings..
In true colour mode, the automatically measured object points are also displayed in their true colours..
Cor context menu
Toggles between true colour display and normal display.
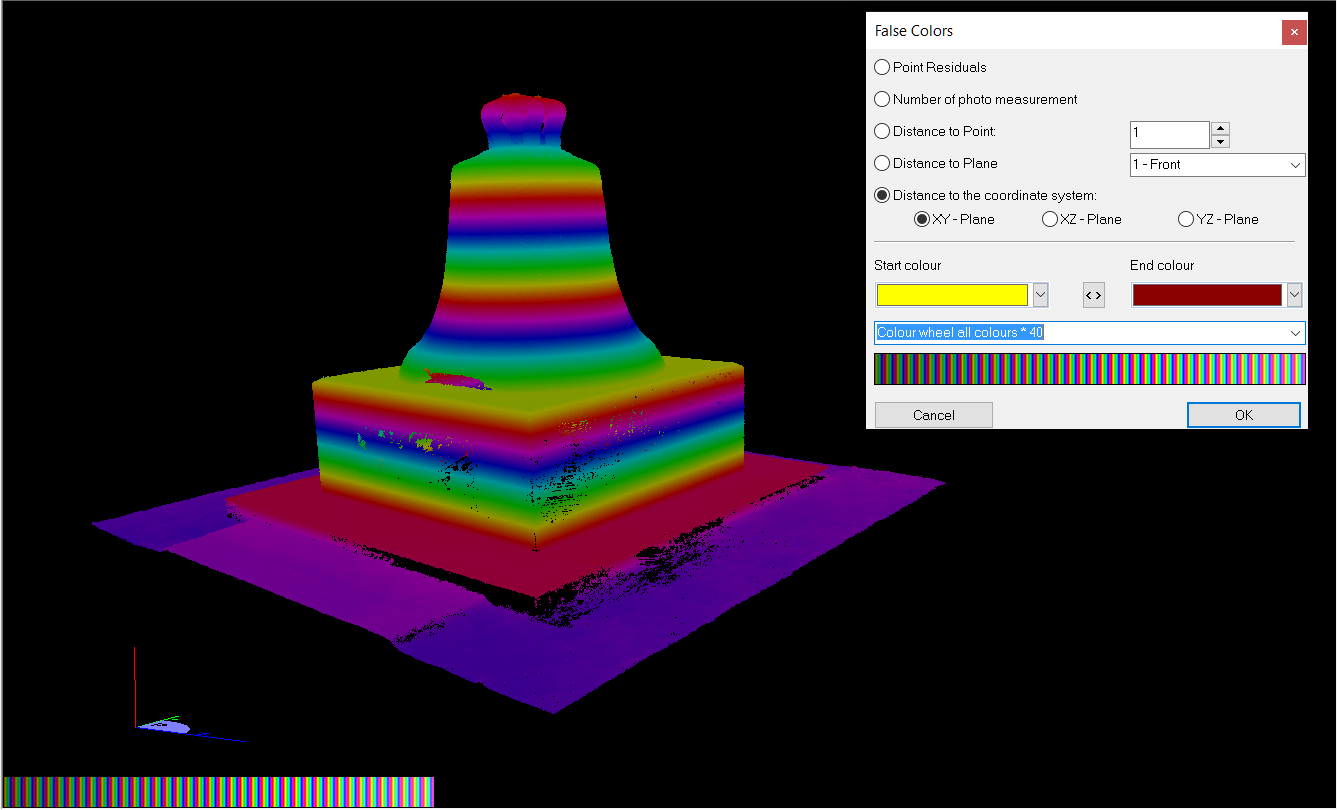
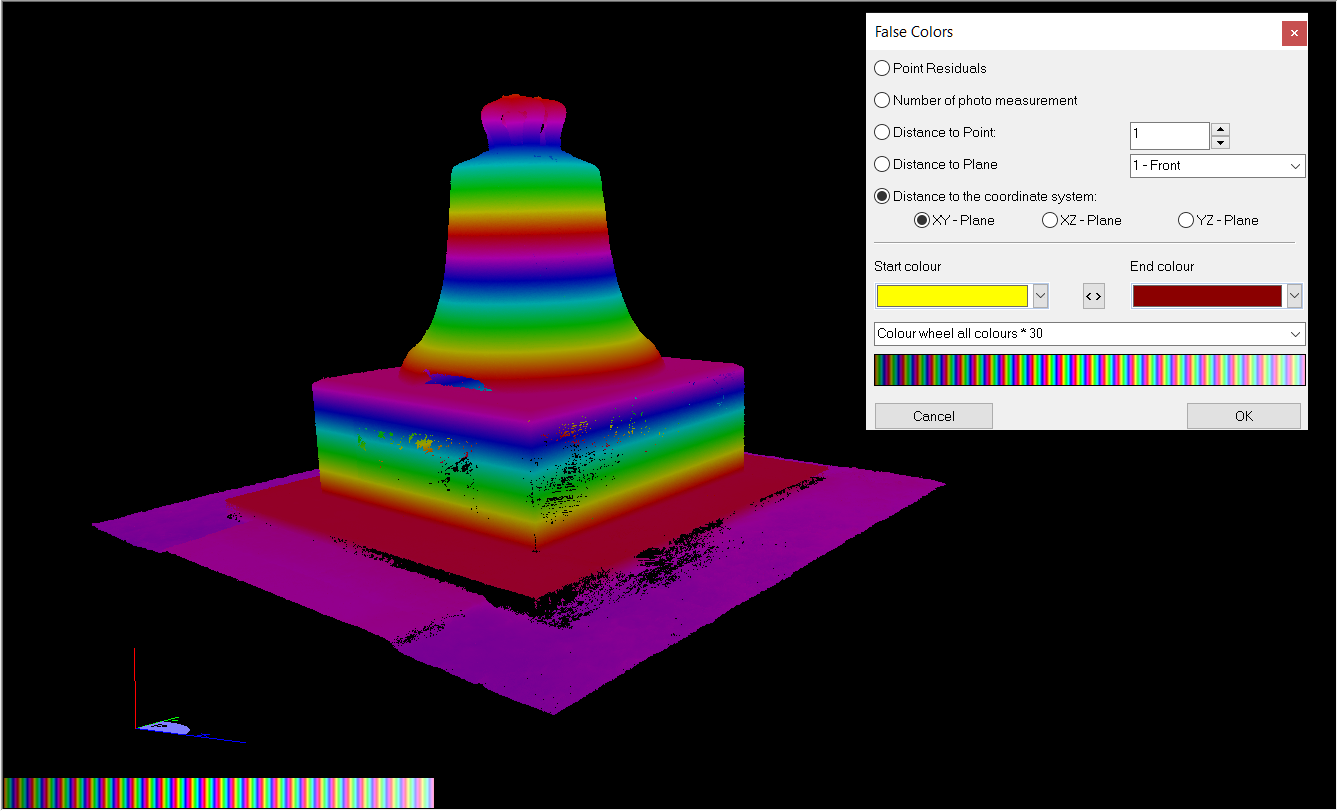
Display in False Colours
A false colour representation of the point cloud is available via the context menu. Many different modes and criteria are available for the display:
F or context menu
Toggles between false colour display and normal display.
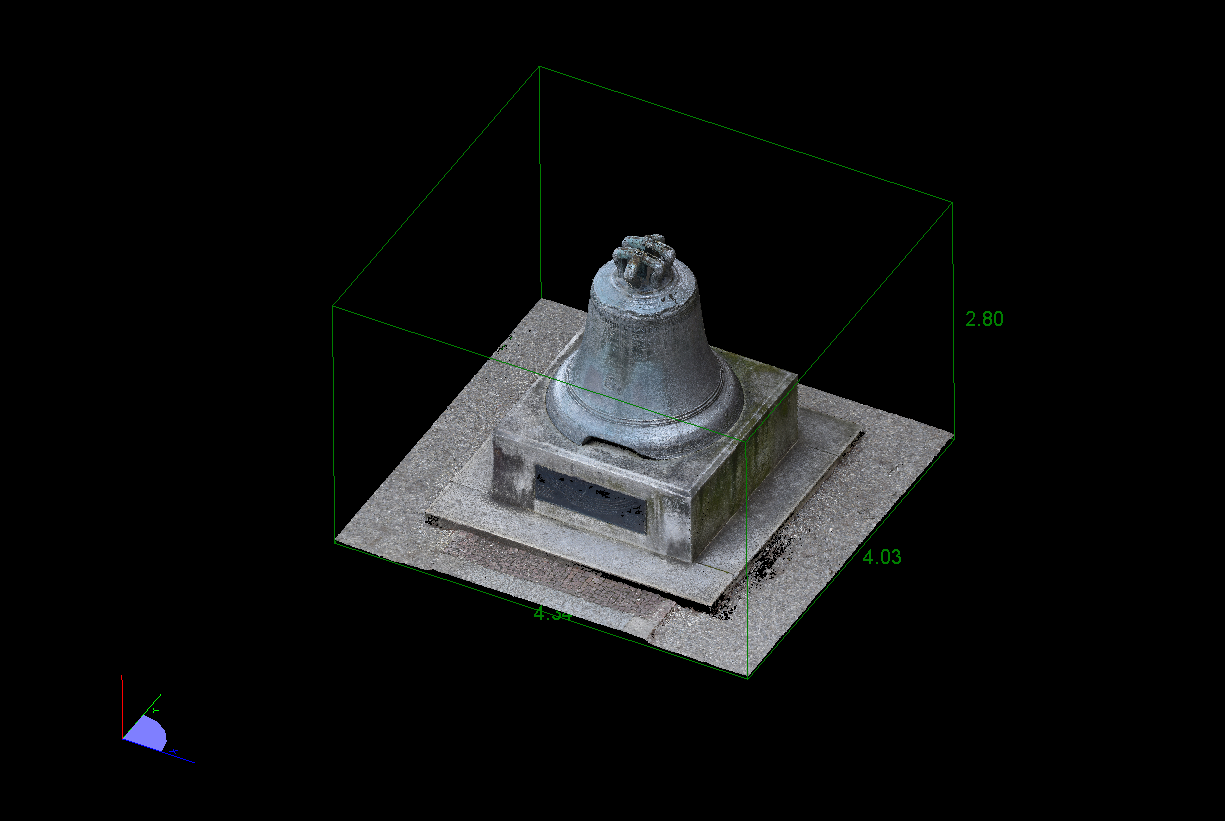
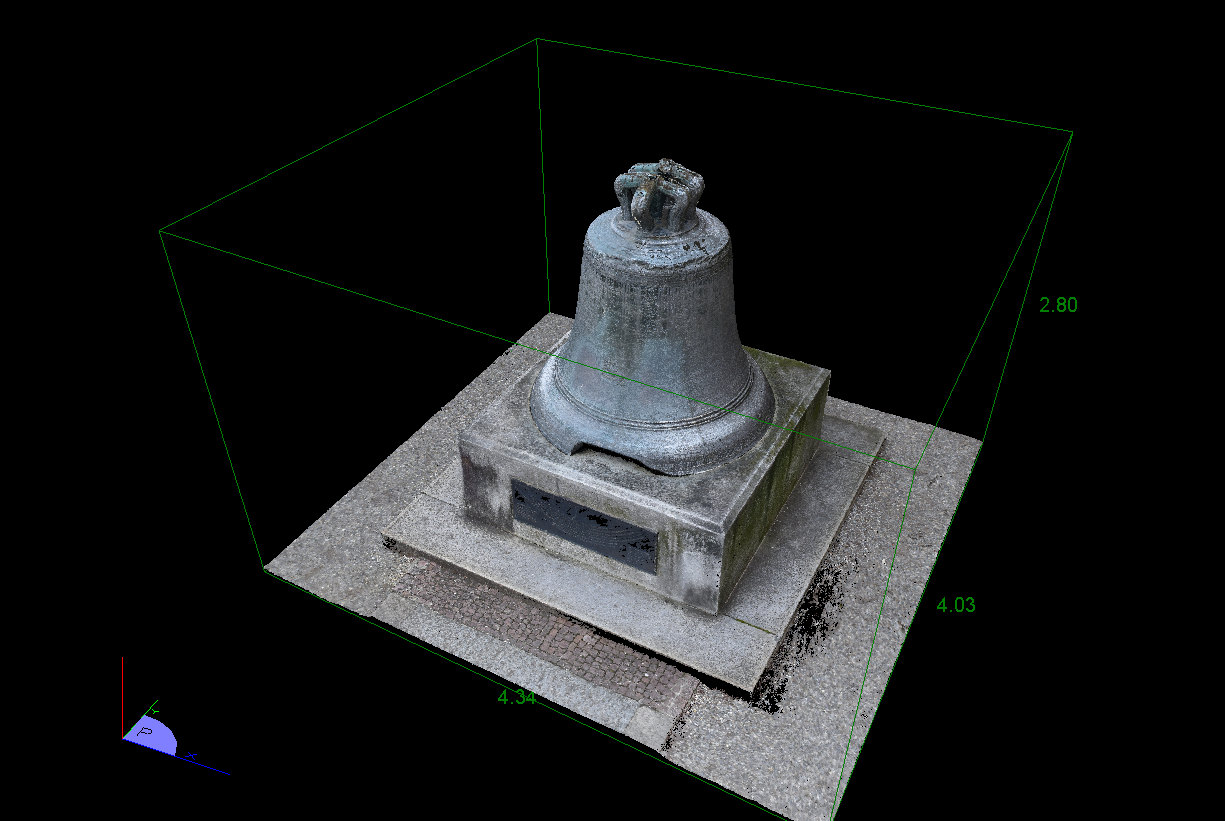
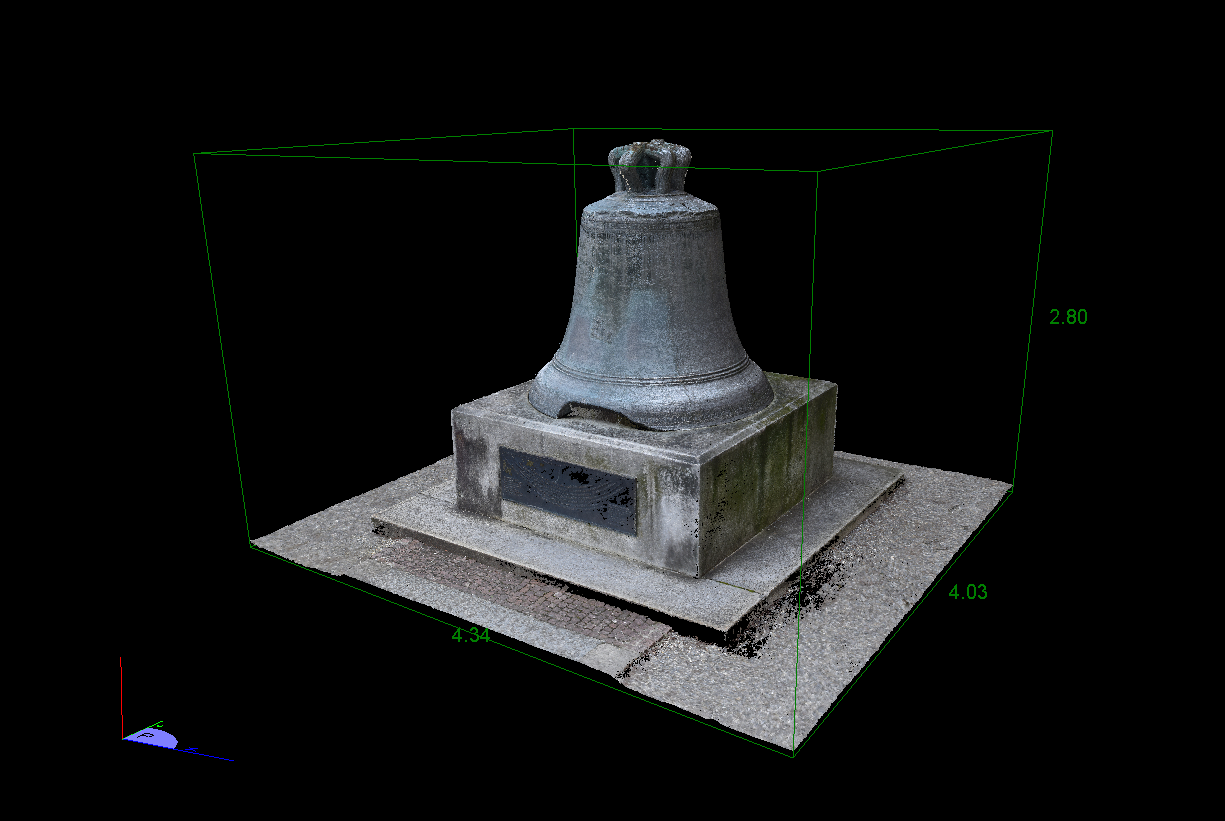
Show Bounding Box
Bor context menu
Toggle bounding box display
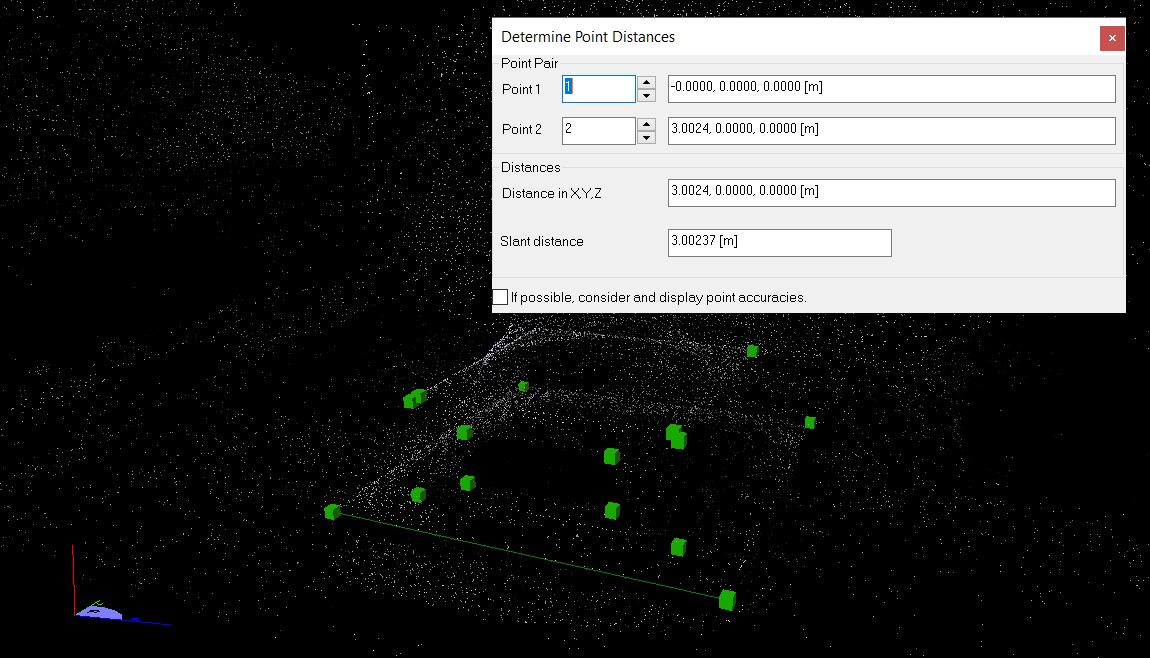
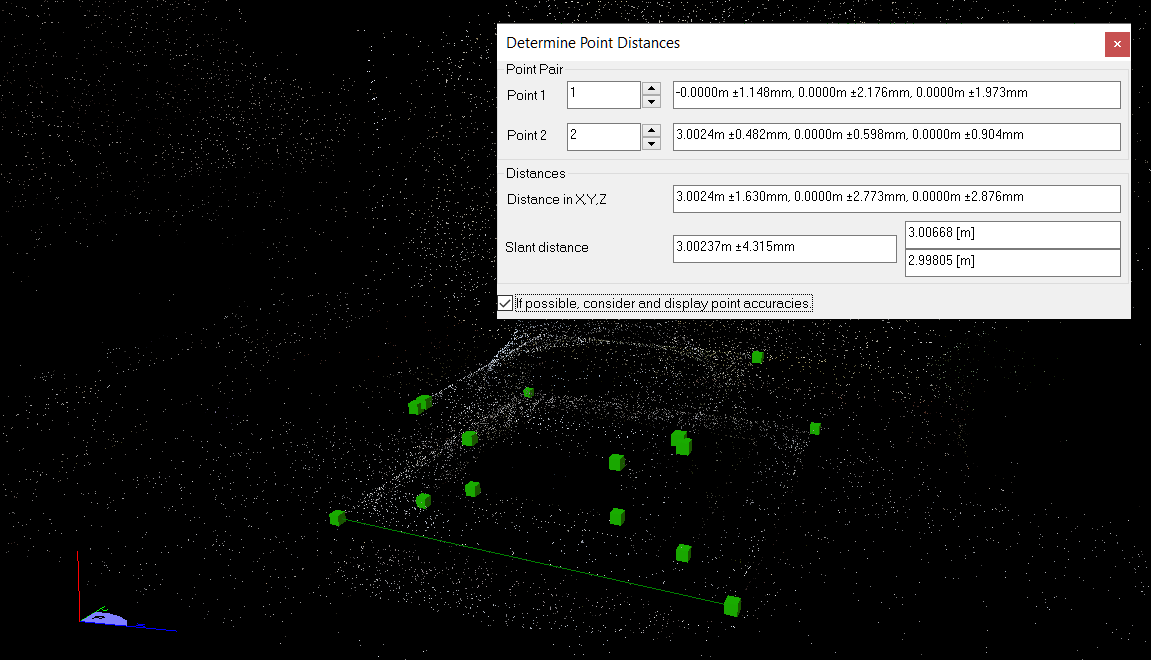
Determine Point Distances
Distances between 2 object points can be displayed with the tool "Determine point distances" in the 3D point cloud view. The oblique distance and the distances split into x, y, z are displayed. If point accuracies are available, the minimum and maximum distances are also displayed. In the point view the two points are connected with a green line. The points can be selected as follows:
Enter the point number in the input field or by using the arrow buttons.
Clicking the points in the 3D view
Clicking the points in a point list.
Point distancesPoint distances with minimum and maximum distances
D or context menu
Invokes the function
This website uses cookies
Select which cookies to opt-in to via the checkboxes below; our website uses cookies to examine site traffic and user activity while on our site, for marketing, and to provide social media functionality. More details...
Cookie settings
We use cookies to enhance your browsing experience, serve personalized ads or content, and analyze our traffic. By clicking "Accept All", you consent to our use of cookies. More details...